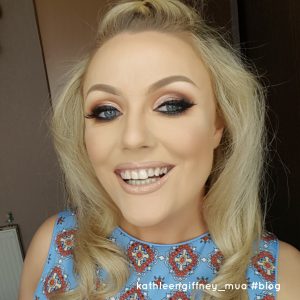
Hi guys,
Welcome to the fourth of my empties instalments. I have another whopping 17 empties for this month so grab a big cuppa, a couple of biscuits, sit down and enjoy.
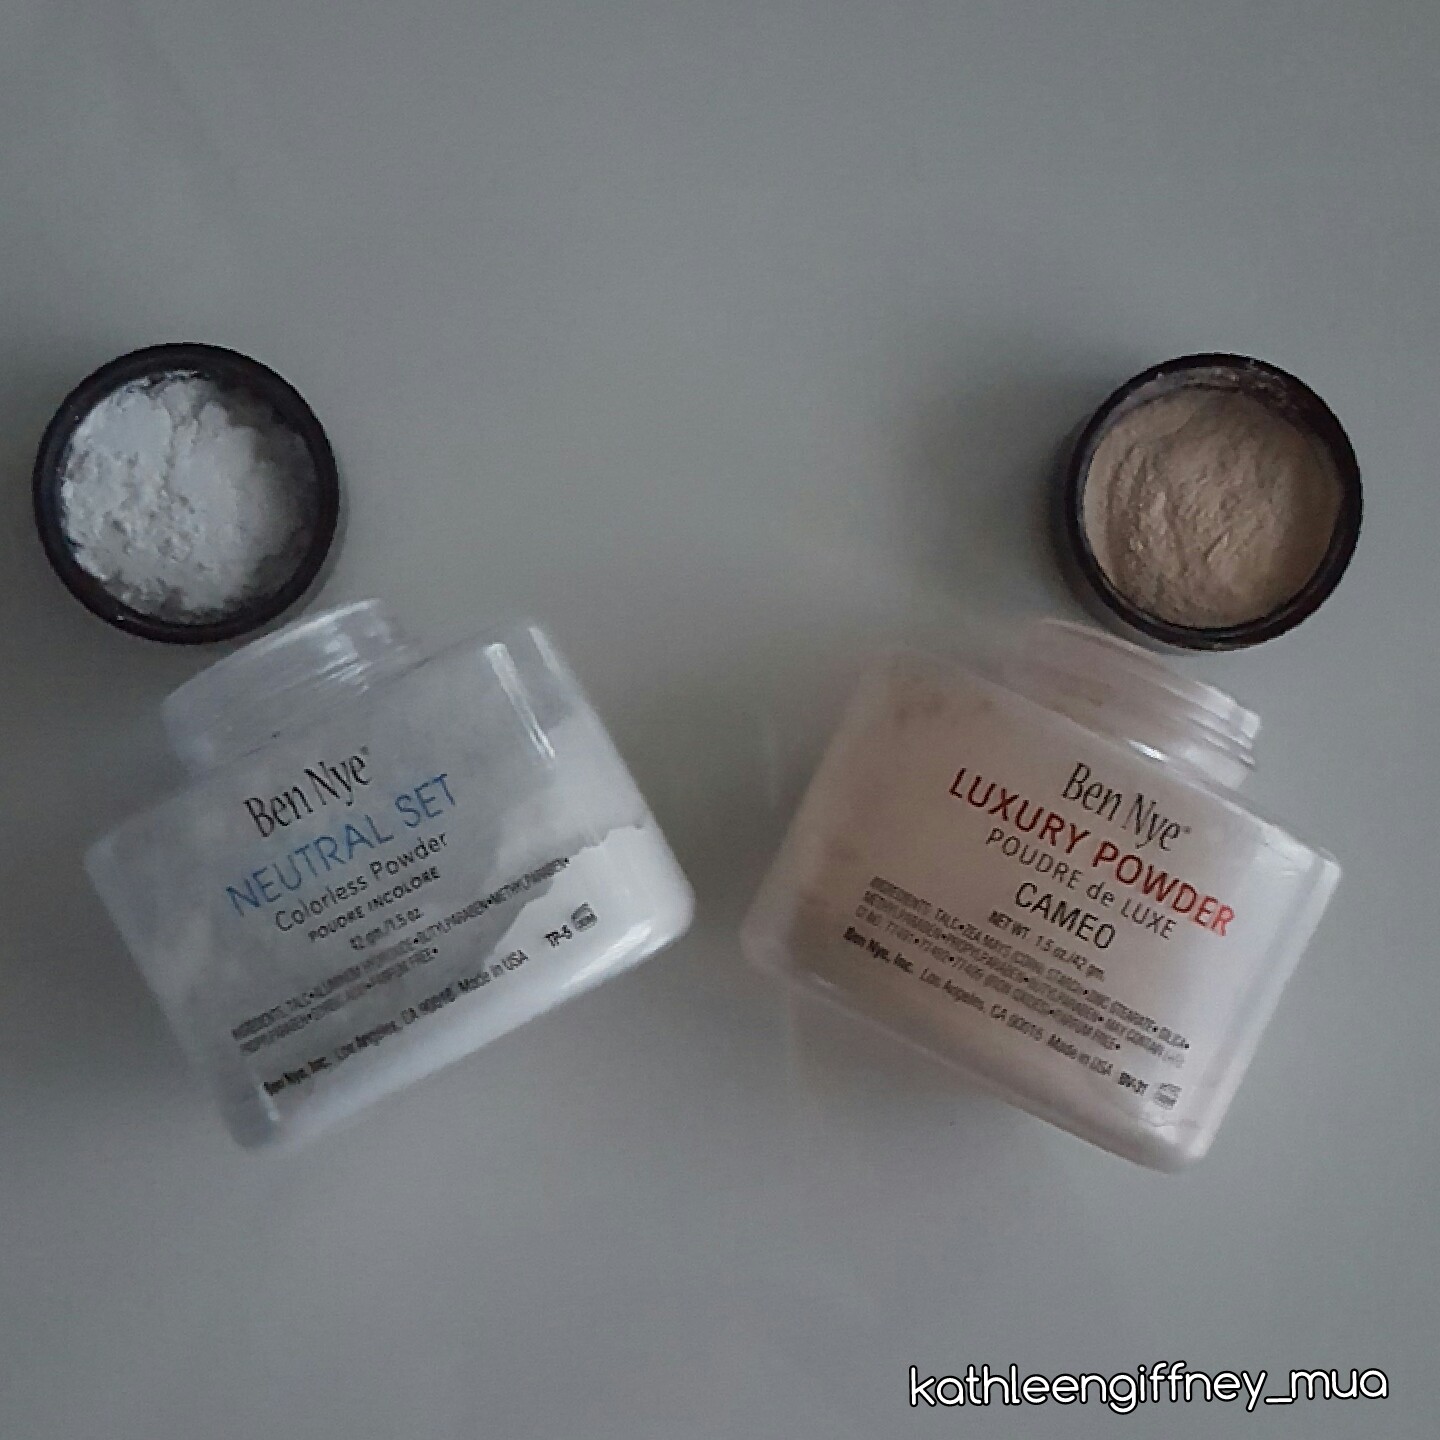
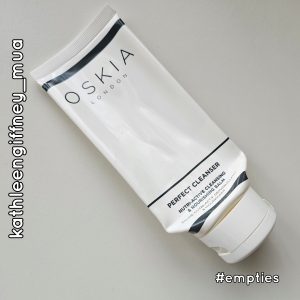
Oskia Perfect Cleanser
Ok so I previously used the Oskia Renaissance Cleanser and loved it so my sister bought this for me. Now I did like this but…I preferred the Renaissance Cleanser. I felt this was just a lil bit too balmy for me so I probably wouldn’t repurchase.
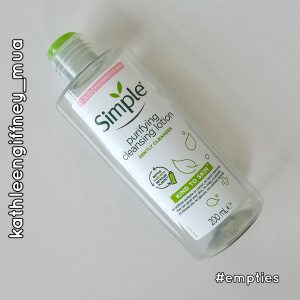
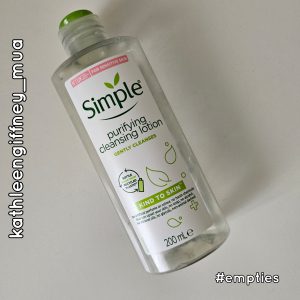
Simple Purifying Cleansing Lotion
I featured this in my June empties and it is a must for me for removing eye makeup. As I said I know it’s not an eye makeup remover but it works for me. I leave it on my eye for about 30 seconds and then I cleanse. I normally pick this up in one of the multiples (Dunnes Stores, SuperValu, Tesco) when they are running an offer on it. Definitely one I will continue to repurchase.
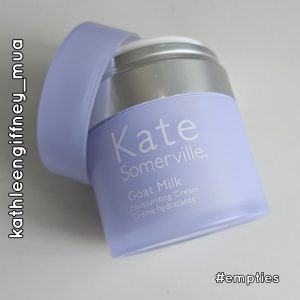
Kate Somerville Goat Milk Moisturising Lotion
This is a moisturiser that I have used before. This time I got this in one of my @cohorted monthly boxes and I really enjoyed using it. It was lightweight on the skin while giving you the moisture that you need. Definitely one I would repurchase.
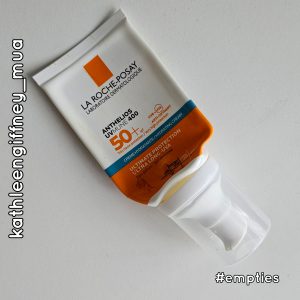
La Roche Posay Anthelios UVMune 400 SPF
Another product that I have used before. It is a brilliant spf. It also helps give moisture to your skin, it doesn’t come through your makeup which is something that I have been conscious of since @everythingjoloves spoke about it recently. Definitely one I will repurchase.
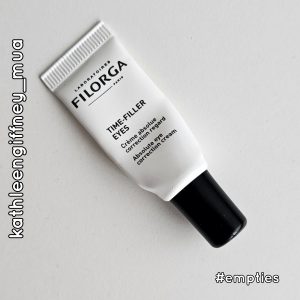
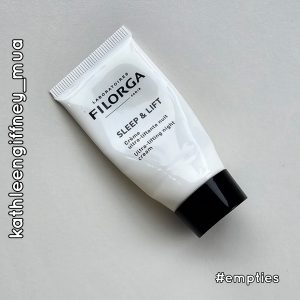
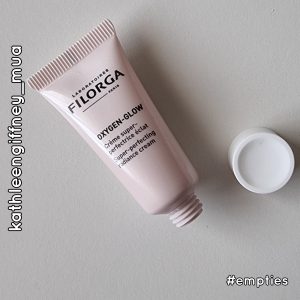
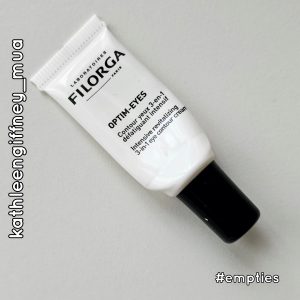
Filorga Optim-Eyes
A product I was lucky enough to be gifted as part of the Filorga Christmas 2022 Advent Calendar. Another eyecream that I thoroughly enjoyed using so it is one that I would definitely repurchase.
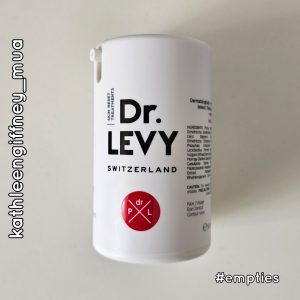
Dr.Levy Pollution Shield
I got this in my Cult Beauty advent calendar last year. So this is a mattifying spf but I found that this broke-out chin so I only used it on my forehead and nose. It also meant that I didn’t really need a mattifying primer after using this. For the reason that I had to use a second spf on my cheeks and chin, I probably wouldn’t repurchase this.
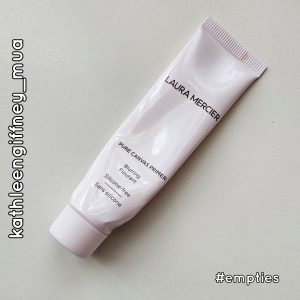
Laura Mercier Pure Canvas (Blurring) Primer
I loved this primer. I found that this totally mattified my forehead and also blurred out the pores on my nose. It was my go to weekend and going out primer as I found any fine lines on my forehead and my god awful frown line were completely blurred when using this. Definitely one I will repurchase.
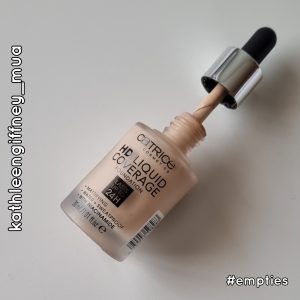
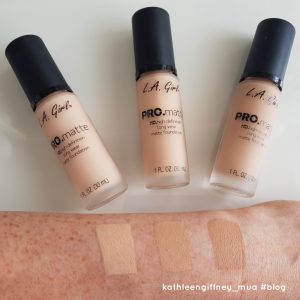
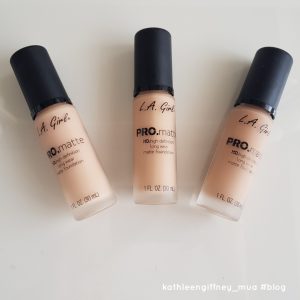
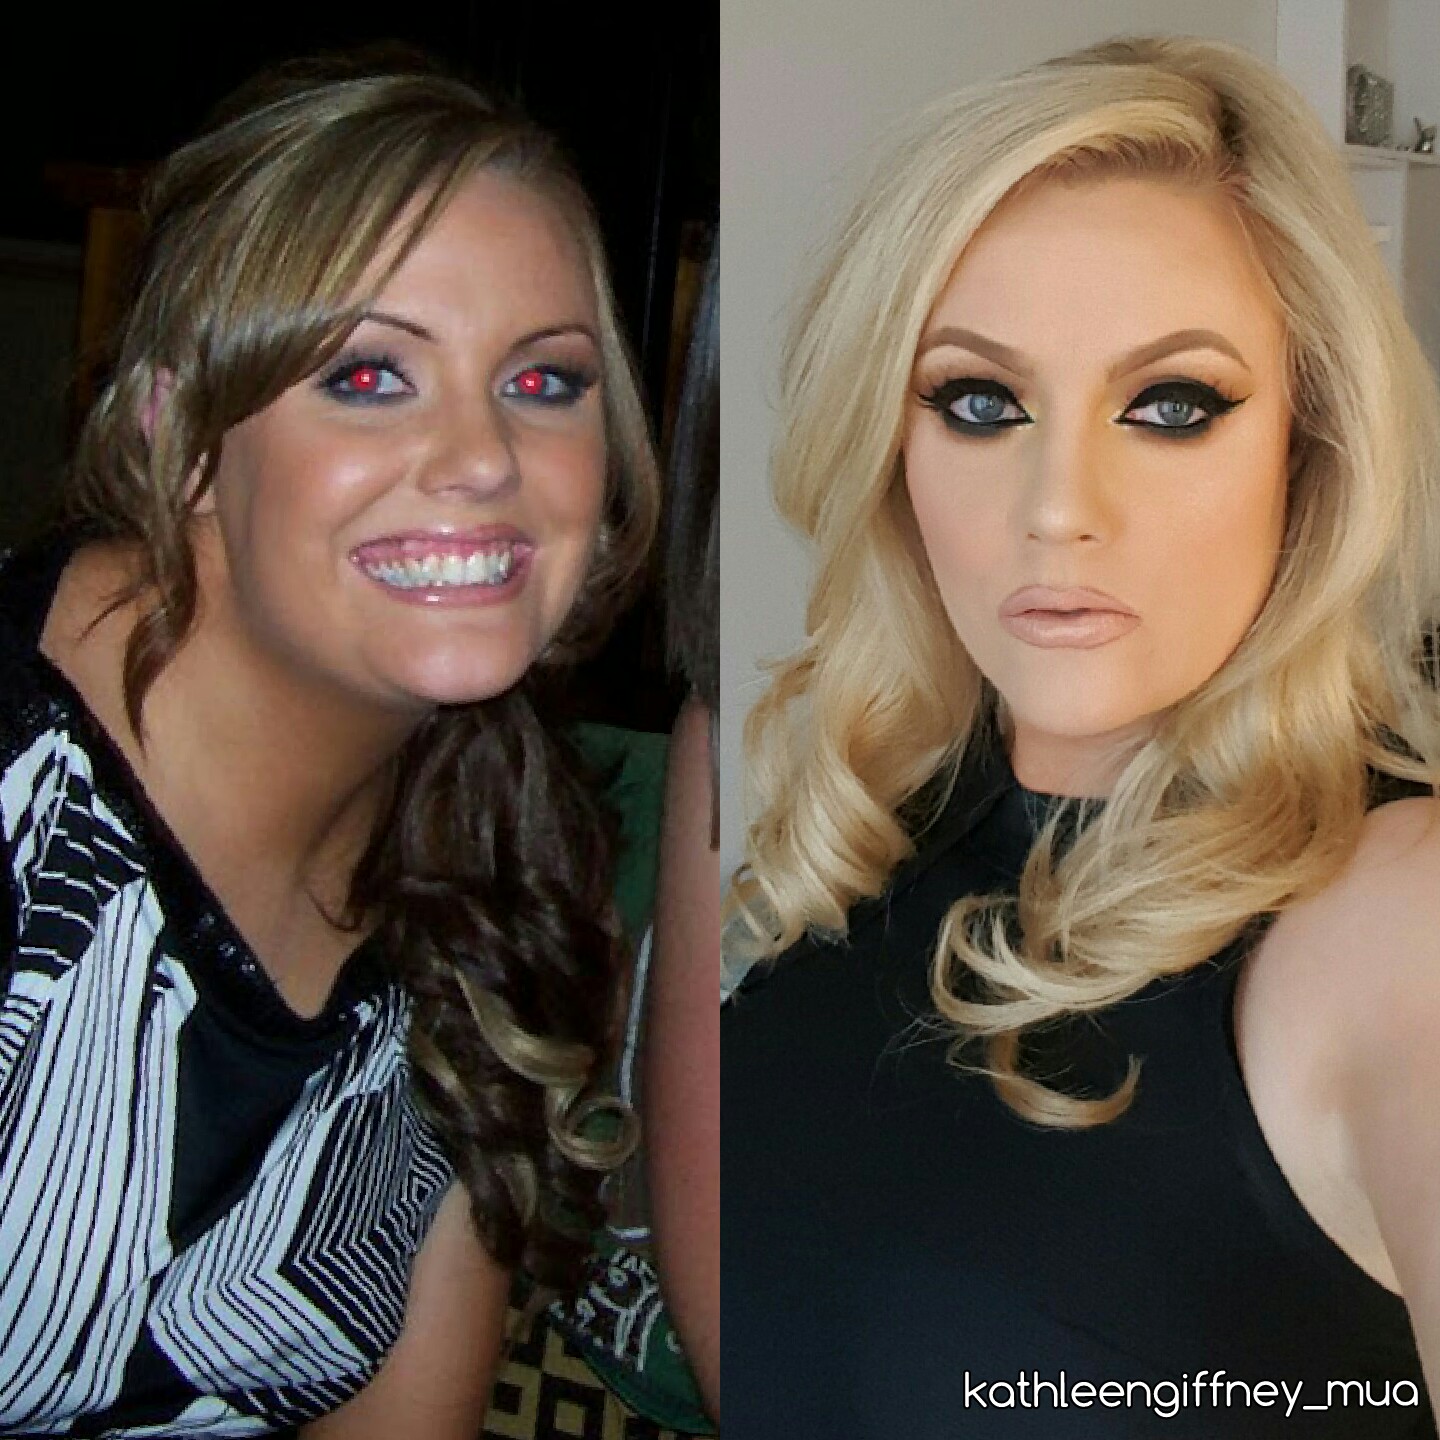
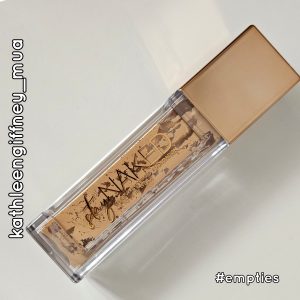
Urban Decay Stay Naked Foundation in 50WY
This was another Sinead from @beauttruth recommendation and wow I just loved it. It is so light weight on the face but the coverage is absolutely amazing. Definitely one I will repurchase as it is a great foundation, weightless but packs a punch on coverage.
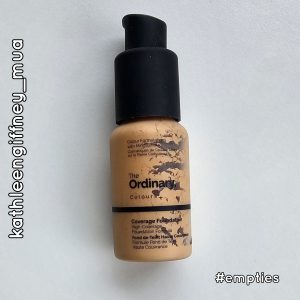
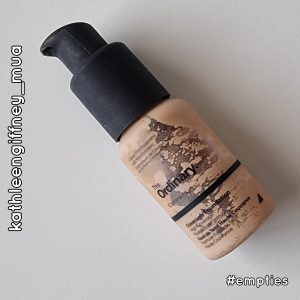
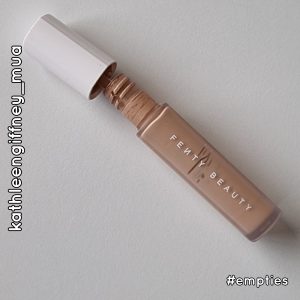
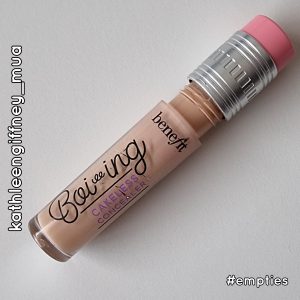
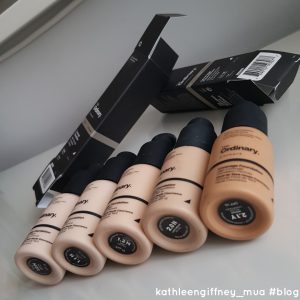
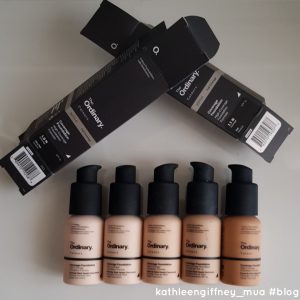
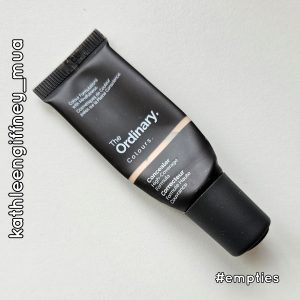
The Ordinary Concealer in 2.1N
I loved this concealer but it was too light in the shade for under my eyes. Coverage was fantastic as I also used under foundation to conceal spots. Unfortunately Deceim have discontinued the range so I am unable to repurchase.
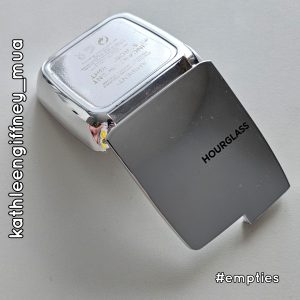
Hourglass Ambient Powder in Incandescent Strobe Light
Another great product. I love adding a little bit of light per-say to face. I add this to my forward and it my concealer is very matte, I also add it to my under eyes just to add back some light back to the face. This is expensive but it lasts for such a long time. I already bought a mini (by accident) so safe to say I would repurchase.
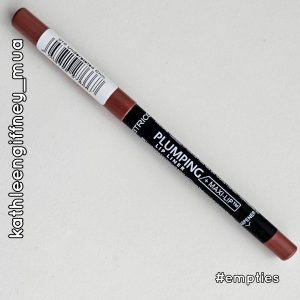
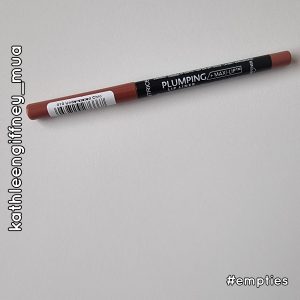
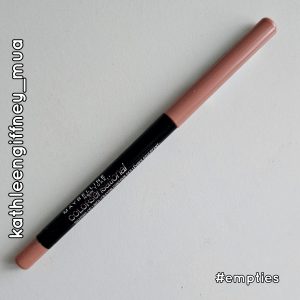
Maybelline Colour Sensational in Nude Whisper
I liked this lip liner. It was a nice colour and it did last all day. I didn’t reach for it as much as I thought that I would so I probably wouldn’t repurchase, no particular reason. The liner up next is kind of my go to now.
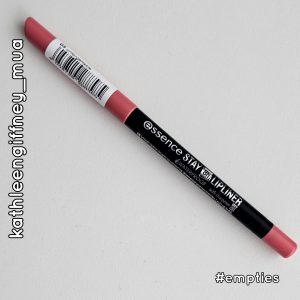
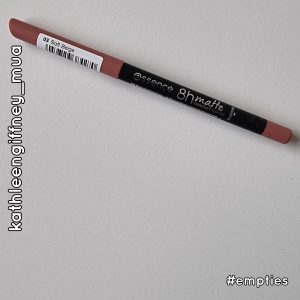
Essence 8hr Stay Lip Liner in Curious
I have shown this in my monthly favourites previously as I absolutely love these liners. I think I have another four or five of these in my collection so I am ok for now but this is still available.

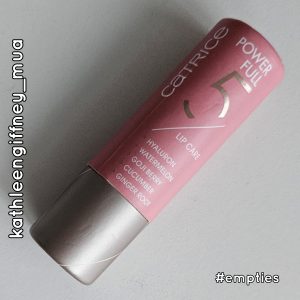
Catrice Lip Balm in Charming Rose
I absolutely love this lip balm. It is a lip balm but has a colour in it so your lips are hydrated and you have a stunning pink colour on them also. This colour seems to be discontinued so I can’t repurchase but I have two still left in my collection so I am ok for now.
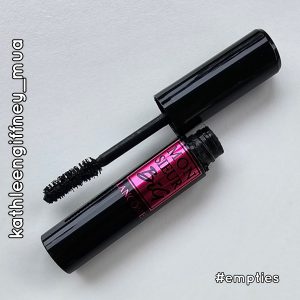
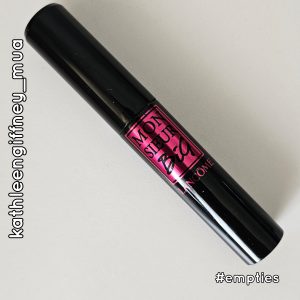
Lancome Monsieur Big Mascara
Another mascara I love, this is amazing for volume. Makes you look like you put on a strip of fake lashes, another one to repurchase and another product I would tell you to put on your wish list.
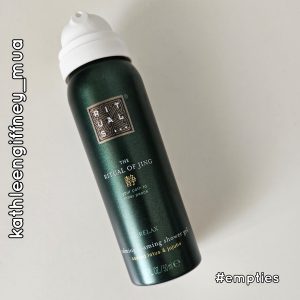
Rituals The Ritual of Jing Shower Gel
I have used this shower gel before. I love it. I love all of the Rituals products, I don’t think that there is one that I have come across that I wouldn’t like. The scent is also beautiful.
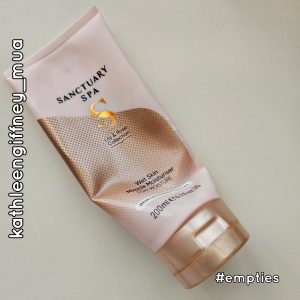
Sanctuary Spa Lily and Rose Collection Wet Skin Miracle Moisturiser
This was a @graceyoconnell recommendation and I have to say for the hot and humid weather, this is amazing. You moisturise in the shower and you are done. It’s great. Definitely one I will repurchase.
Rimmel SunShimmer in Light Shimmer
Good old Rimmel Sun Shimmer. It is a great product and it does exactly what it says on the tin. It gives you a tan with a glow (you can also get a matte version) and it washes off. Definitely one I keep in the drawer or when I have to tan my feet.

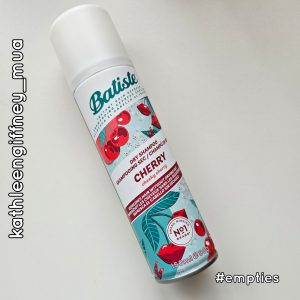
Batiste Dry Shampoo in Cherry
Ah Batiste, what a dry shampoo. I always pick one up when I am in @penneys.It is as cheap as chips and does what it says on the tin. Definitely one I will always keep on the go.
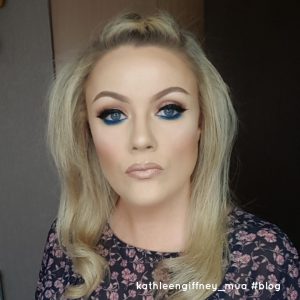
Thanks again for reading guys, hope you enjoyed and see you next time.
Kat x